Thinking about getting a hip piercing done? We explain the procedure and talk you through all the little details in our latest piercing guide.
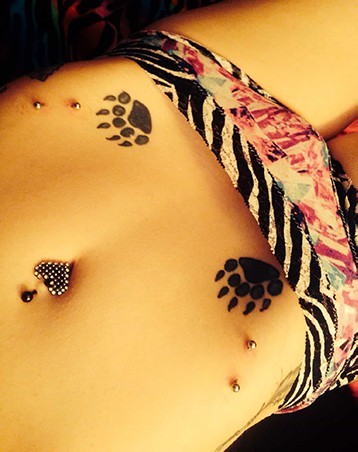
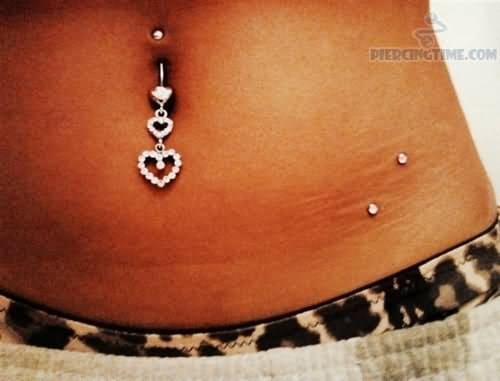
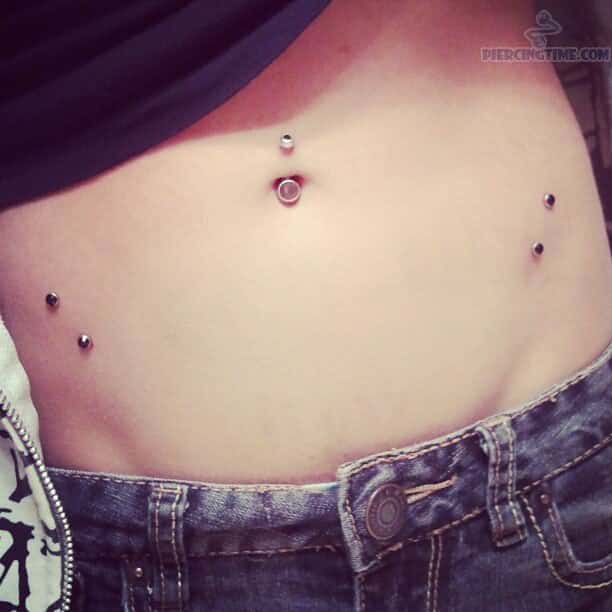
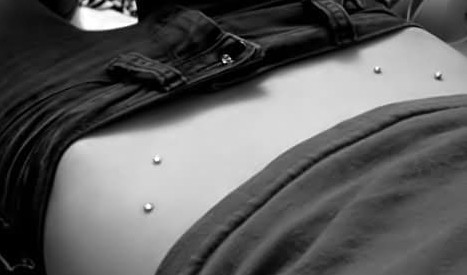
Symmetrical or singular, surface or dermal, on their own or with tattoos, hip piercings look incredible on both men and women.
In this article, we’re covering all the important hip piercing information, including the process, cost, and pain factor.
Scroll to the end of the article for a huge gallery of jewelry and piercing examples!
Recommended: Want to see nape piercings? Check out our guide!
What are hip piercings?
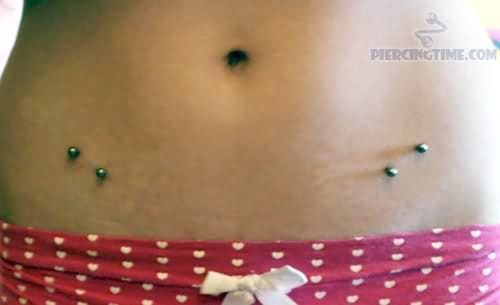
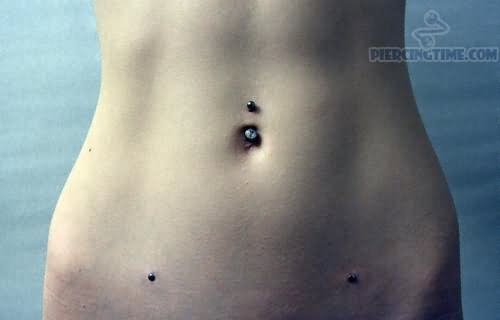
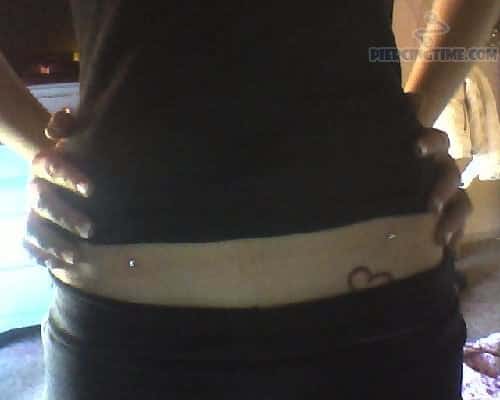
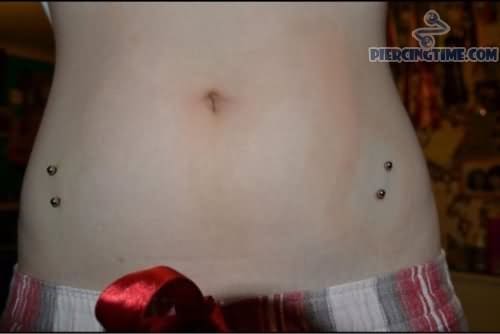
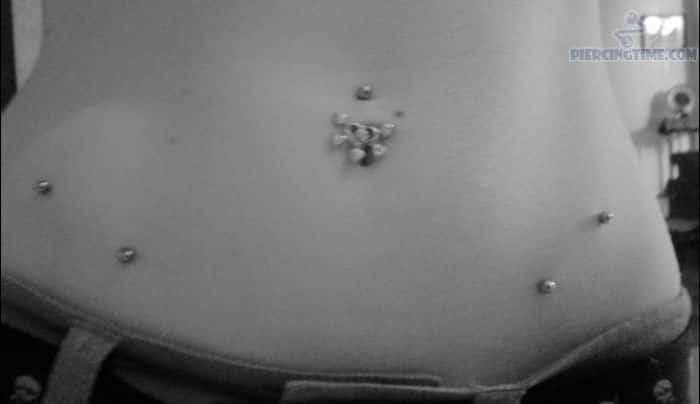
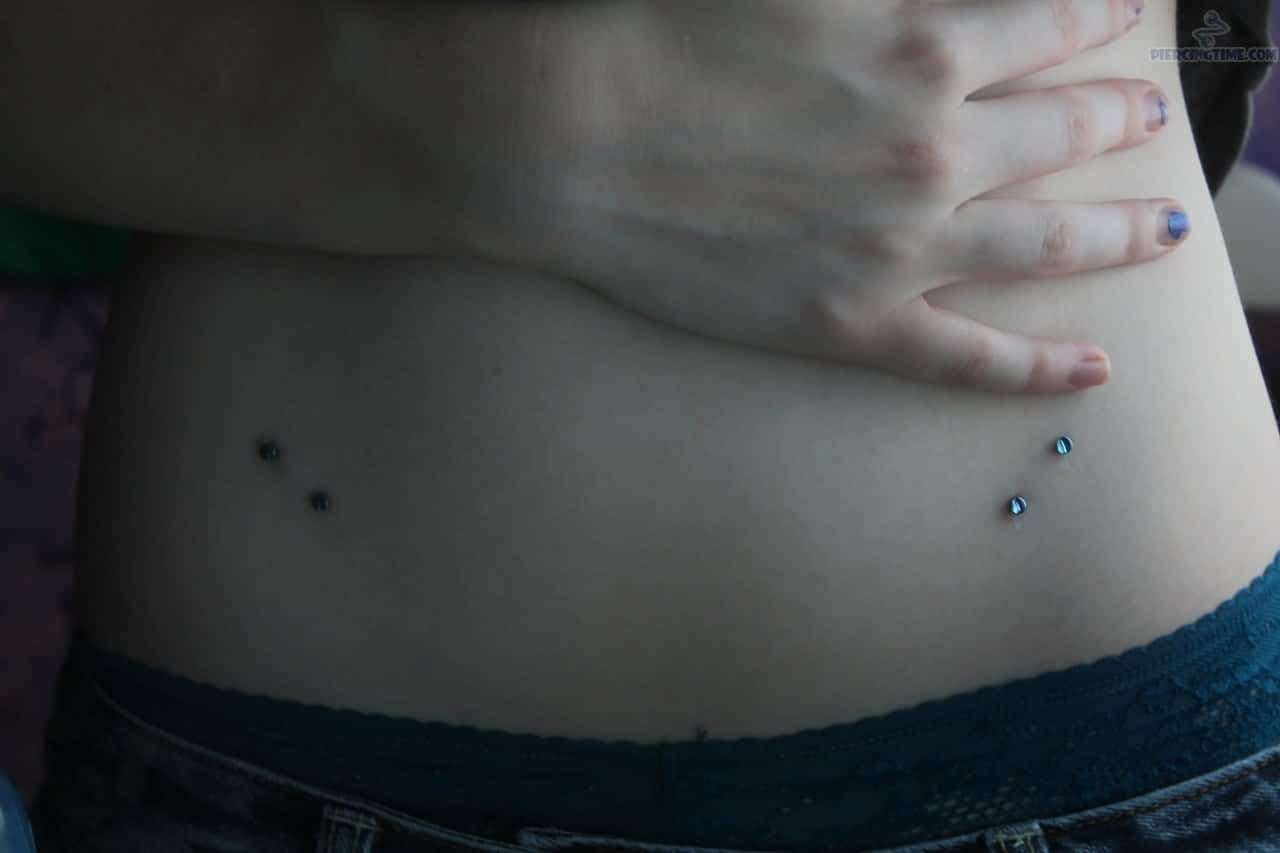
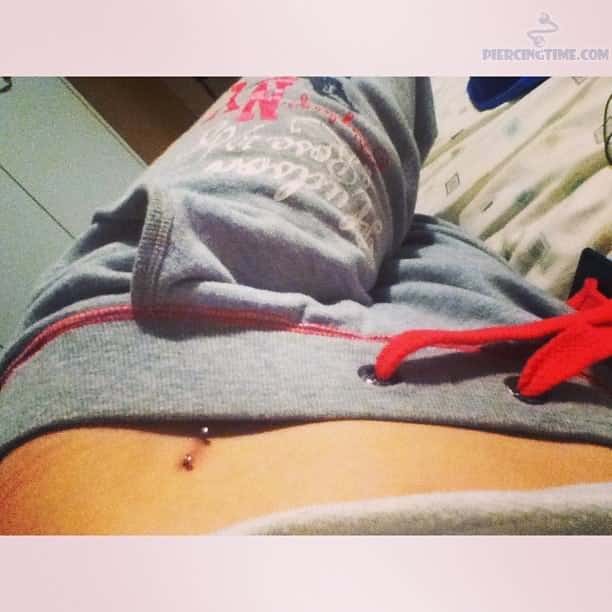
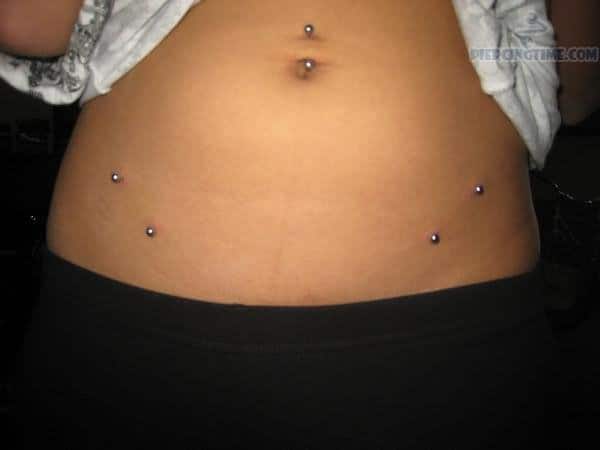
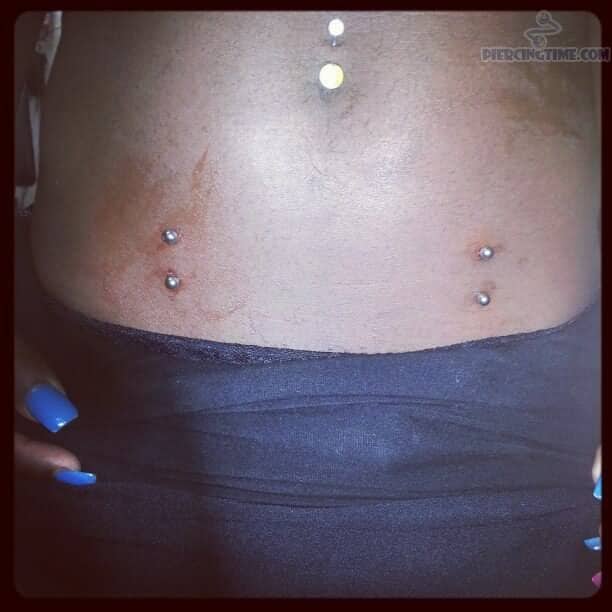
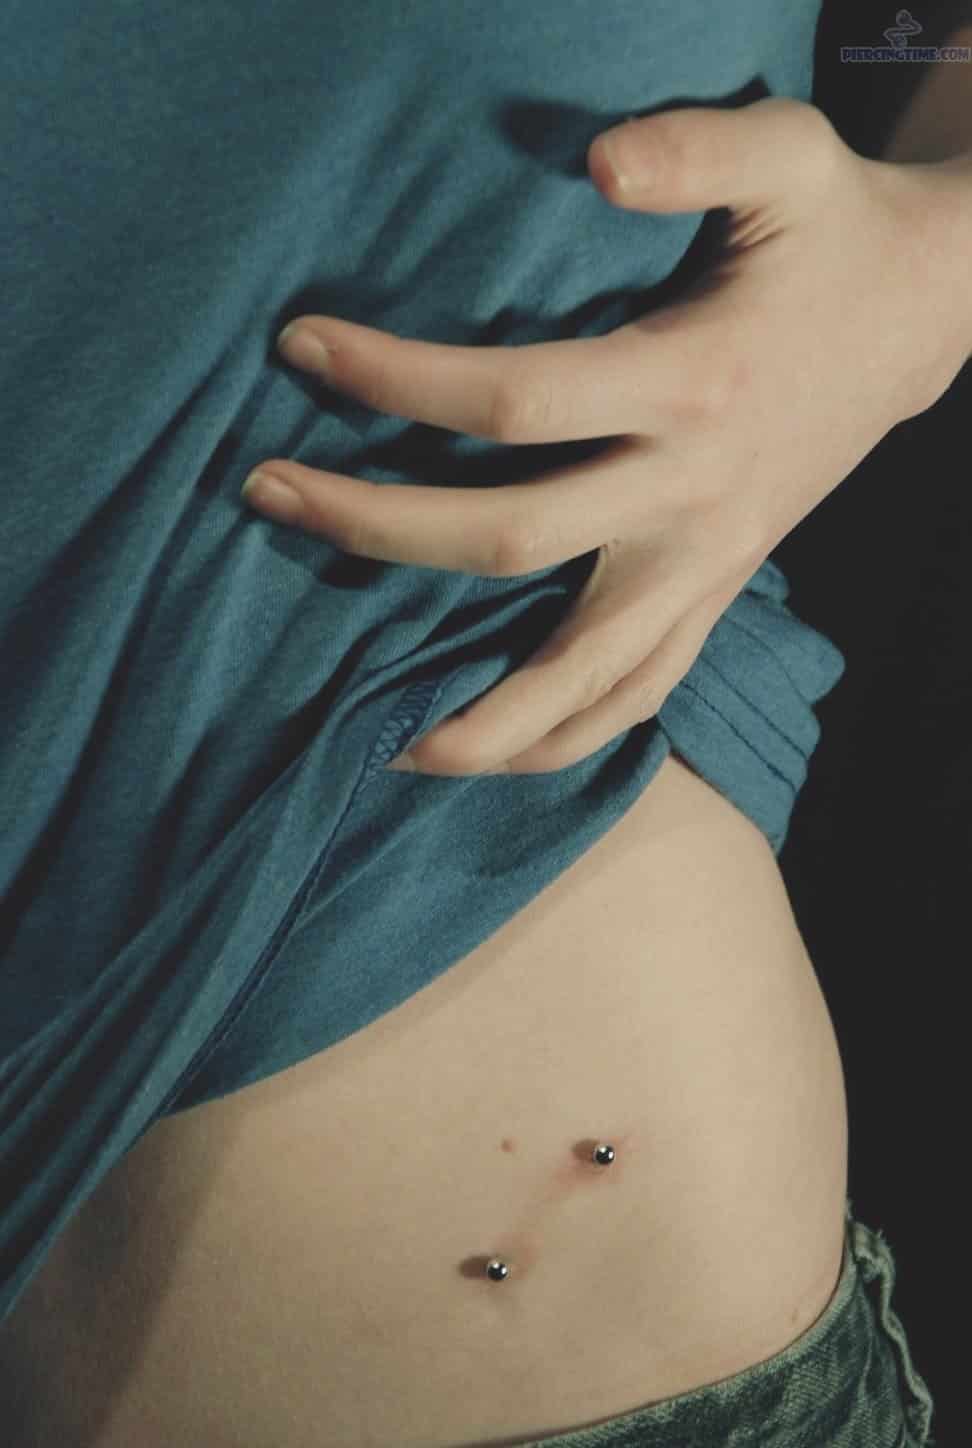
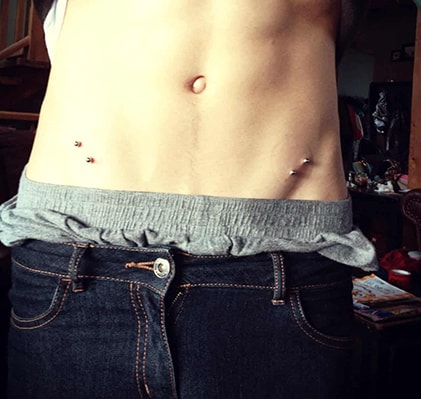
These piercings are placed in the pelvic area, close to the hip bone. Symmetrical piercings on both hips are the most popular choice.
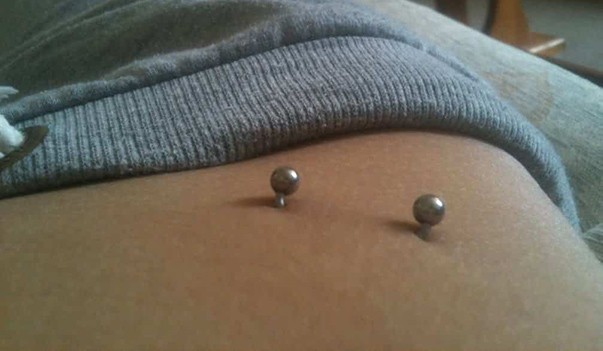
There are two methods commonly used for hip piercings: surface bars and microdermals.
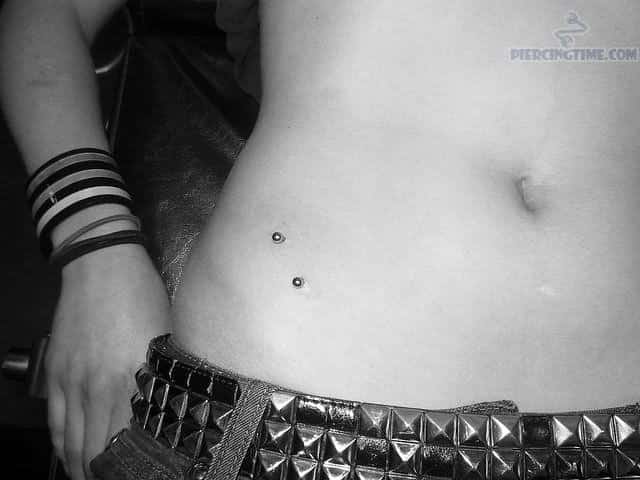
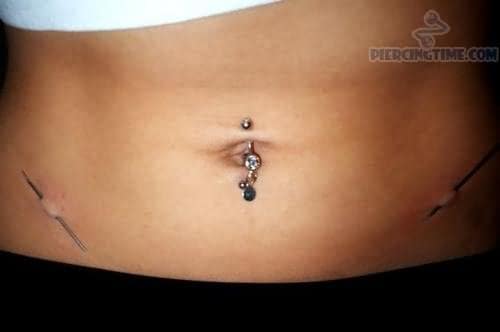
Surface piercings involve placing a long, thin bar underneath the surface of the skin. The ends of the bar are bent upwards at a 90-degree angle, so it’s shaped like a staple.
The only parts of the bar that show above the surface of the skin are the ends – just enough to enable you to screw the beads on.
The beads are interchangeable, meaning that the bar can stay in place while the surface elements can be changed.
Surface hip piercings are done using either a needle or a scalpel. If a scalpel sounds rather drastic for a piercing, don’t worry – there’s no surgery involved.
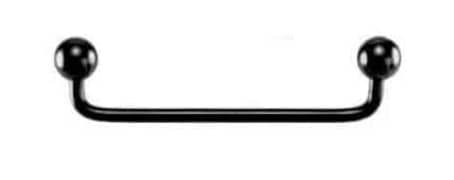
Hip Piercing Bar
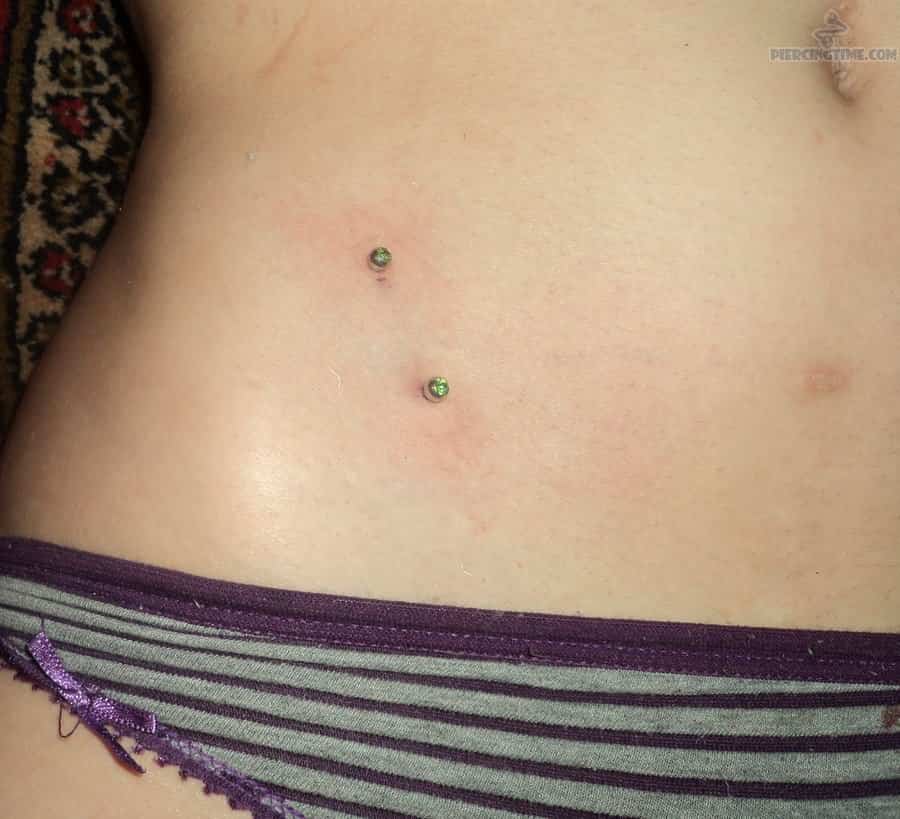
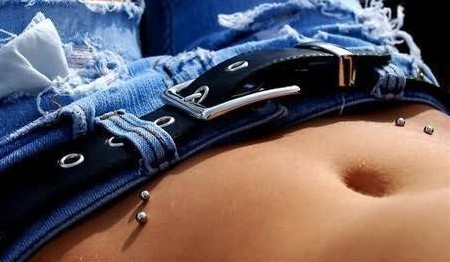
Microdermal (sometimes referred to as dermal or micro dermal) piercings use a similar concept, but with one bead.
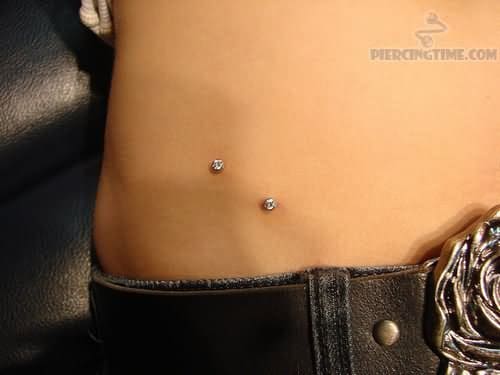
Rather than involving an elongated bar, dermals consist of an anchor piece and a single bead. The resulting piercing, then, shows one bead rather than two.
The anchor is placed under the surface of the skin. It’s essentially an L-shaped piece of piercing-safe metal (such as surgical steel). This part remains in place.
The bead, meanwhile, can be changed once the piercing has healed.
Dermal hip piercings are performed using either a needle or a dermal punch.

Surface vs micro dermal hip piercing: which is better?
Both look equally good and there are no objective deciding factors. For the most part, it depends on how you want the piercing to look.
When deciding between the two, the first thing to consider is whether you’d like two beads to show (surface), or one (dermal). This will pretty much determine which method to choose.
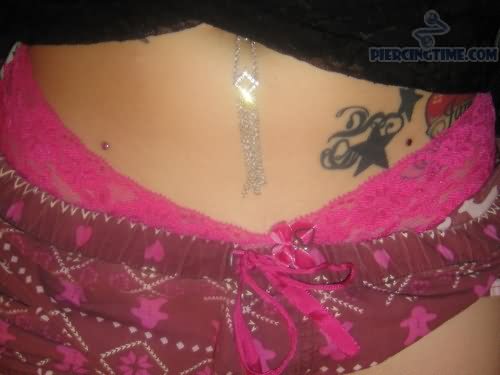
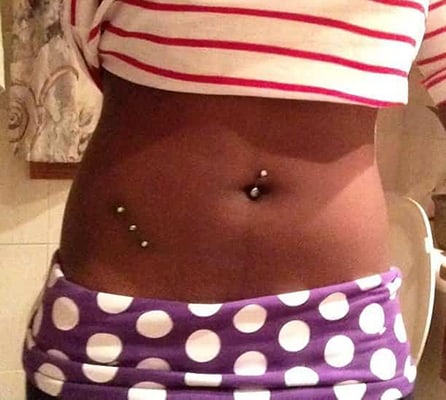
That being said, it’s perfectly possible to get two dermal piercings close to each other to resemble the look of a surface piercing.

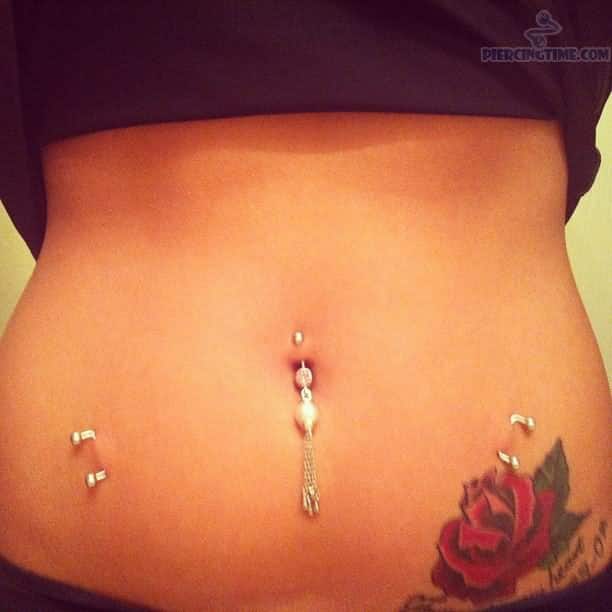
If you have hip tattoos or are planning one in the future, consider how the piercing will fit in with the design.
It’s worth noting that these types of piercings are notorious for how often they are rejected – i.e. recognized as a foreign object and pushed out by your body. Dermals have a slightly lower rejection rate than surface piercings.
Microdermal hip piercings are also slightly more expensive, but less painful, than surface hip piercings.
Hip piercing process
Regardless of which method you’ve chosen, your piercer should start by disinfecting the hip area(s).
This is really important: if they attempt to proceed without this step, or are not wearing appropriate hygienic protection such as gloves, you should reconsider your choice of professional.
Once the area has been thoroughly disinfected, the piercer will mark the perforation points using a surgical marker. This is both to show you where the piercing will be, and to guide the piercer as they perform the procedure.
If you’re getting both of your hips pierced during the same appointment, marking the spots will help to ensure they’re exactly symmetrical.
Recommended Article: Don’t miss our guide to corset piercings next.

What happens next will depend on the type of piercing (surface or dermal) and the specific method chosen.
For surface piercings, the piercer will clamp a piece of skin and perforate it using a needle or a scalpel. They will then insert the bar into the ‘tunnel’ they’ve just created under the skin. Then the visible elements of the jewelry are screwed on.
For dermal piercings, the piercer will either use a needle or a dermal punch to create space for the anchor.
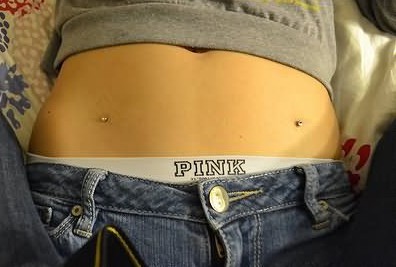
When using a needle, the tissue is simply parted just enough to allow the anchor to be pushed in. A dermal punch, meanwhile, removes a small piece of tissue entirely, creating a ‘pocket’.
After the anchor has been inserted properly, the bead is screwed onto the top.
And you’re done! Before you leave the piercing salon, the pros there should give you instructions on how to look after your brand new piercing.
Hip piercing pain
As with every other kind of body modification, the pain factor of a hip piercing will depend on your individual tolerance. The piercer’s expertise also contributes to how painful the procedure will be.
In general, these piercings aren’t believed to be particularly painful. Regardless of your piercing method of choice, the procedure should be relatively quick with a manageable amount of pain.
For surface hip piercings, using a scalpel is considered less painful than the needle method. Similarly, with dermal hip piercings, the dermal punch method hurts less than a needle.
Dermal piercings are generally less painful than surface piercings. So, if you’re really worried about how you’ll handle the pain, the least painful option is a microdermal hip piercing performed with a dermal punch.
Hip piercing cost
The cost of a hip piercing will depend on two main factors: the method and the piercer.
Surface piercings usually cost between $50-$100. Prices for dermal piercings usually start at $70 and reach $100 or more. If the salon’s prices don’t include the cost of the jewelry, add a further $20 or so.
As you might expect, more experienced piercing professionals will usually charge more.
Keeping in mind that these piercings have a relatively high rate of rejection. Choosing a more experienced piercer will mean paying a little more, but it will also help to make sure that there won’t be any problems with the piercing.
Healing, aftercare, and risks
Most dermal piercings take 1-3 months to heal. Surface piercings usually take longer, from 3 months up to a year.
During this time, you’ll need to look after your piercing to prevent unpleasant complications.
Your piercer may recommend a commercially sold product for cleaning your piercing. However, saline solution is the most popular choice, and you can make it at home by mixing water with non-iodized sea salt.
Recommended Next: Don’t miss our ultimate guide on collarbone piercings.

During the first few weeks, you should clean the piercing at least twice a day. Continue to clean it at least once daily until it’s fully healed.
Hip piercings can be tricky to cleanse – you need to soak the area in saline (or other appropriate product), rather than just rinsing. The best way to do this is by putting your cleansing solution in a clean, small plastic cup and placing the cup over the piercing as you stand or lie back.
To dry the area, pat the skin gently with a clean cloth or, better yet, a clean disposable paper towel.
As with all other piercings, you should avoid touching the area during the healing process, except when cleaning the piercing. Keep the friction in the area to the minimum by wearing loose clothing and sleeping on your back if possible.
Most importantly, you should never attempt to remove the jewelry while the piercing is still healing. This could result in tissue damage, scarring, and increased risk of infection.
If you really need to have the jewelry removed during the healing phase, see a piercing professional for assistance.
Signs of an infection
It’s normal for the pierced area to be red, warm, and tender for the first few days after the procedure.
However, if these symptoms persist for too long or reappear later on, they may be indicative of infection.
Infection happens when bacteria enter the wound, and is often the result of improper care or an error made by the piercer.
If the area is hot to the touch, painful, swollen, with or without unusual discharge, consult a piercer or a medical professional as soon as possible. Infection requires professional treatment and attention.
Rejection
Due to where they are located, hipbone piercings are prone to rejection. There is a lot of friction, stretching, and movement of the skin in the hip area, which makes the healing process more complicated.
Rejection happens when the body mistakenly recognizes the piercing as a foreign object and attempts to remove it. Rather than healing the tissue around the piercing, the body chooses to push it out through the skin.
As you might expect, a rejected piercing will leave behind a sizeable scar, particularly if a barbell is used.
Rejection happens a lot with these piercings, but choosing the right jewelry and looking after the piercing properly can help to minimize the risk.
Correctly performed dermals on hips are believed to have a lower rate of rejection than surface piercings.
Recommended Article: Don’t forget to check out our post on microdermal piercings after this!
Hip piercing jewelry
Your choice of jewelry will primarily depend on whether you opt for a surface or a dermal piercing.
Hip piercing bars
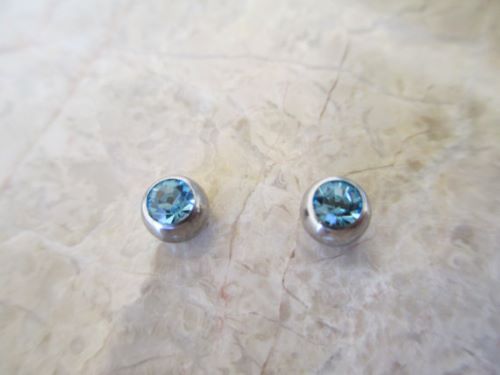
With a surface hip piercing, the customizable part of the jewelry are the two beads that are screwed onto each end of the bar.
The bar itself remains underneath the surface of the skin and is not interchangeable. The screw-on beads are the only parts that show above the surface.
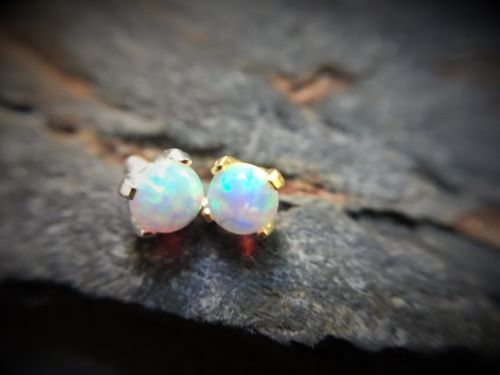
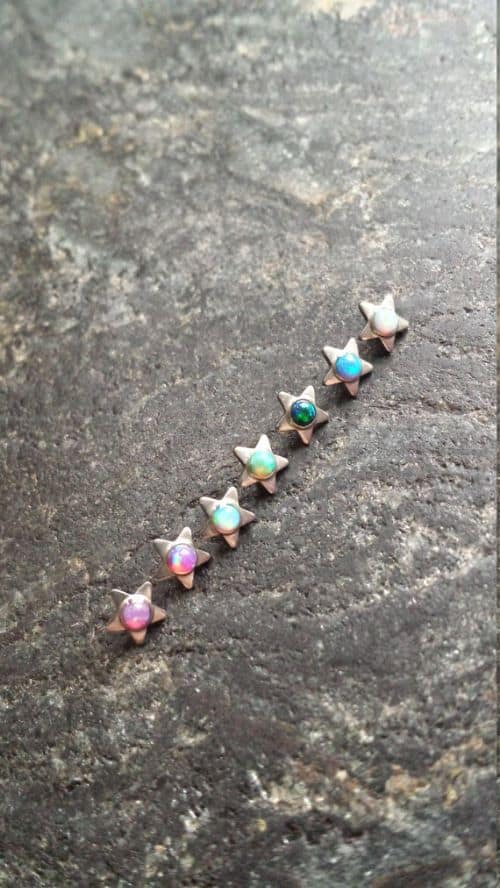
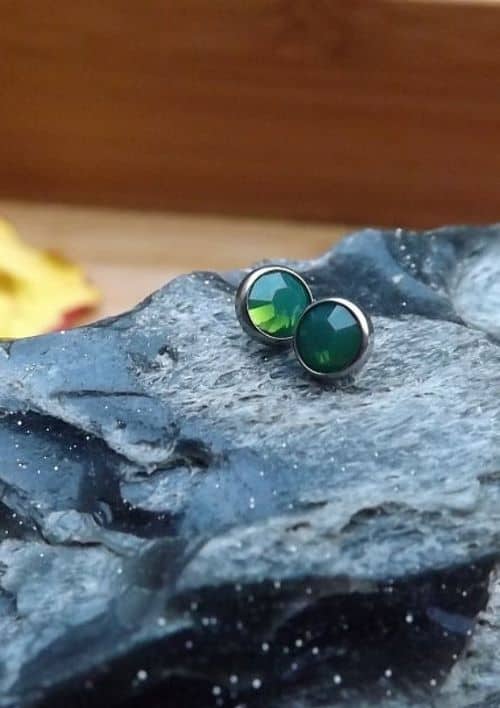
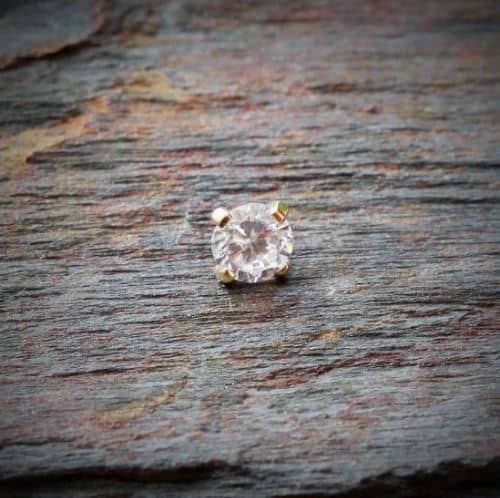
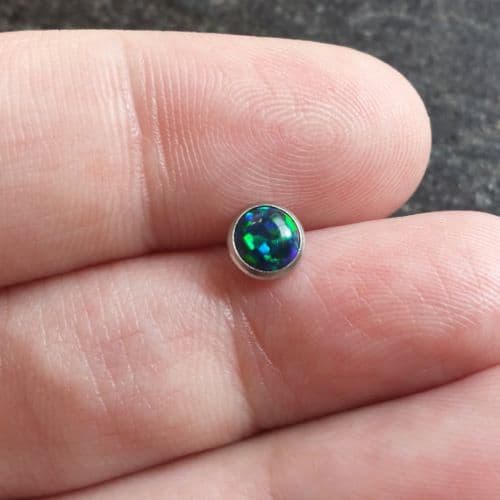
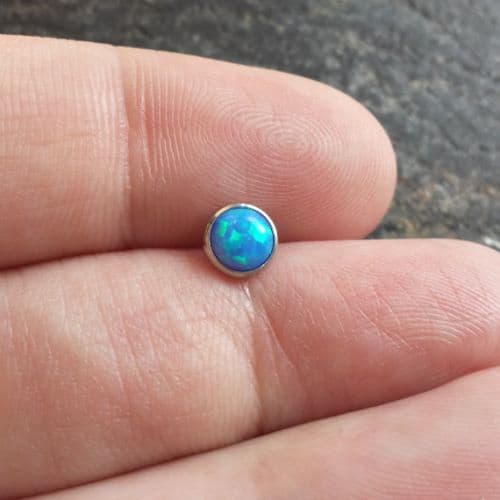
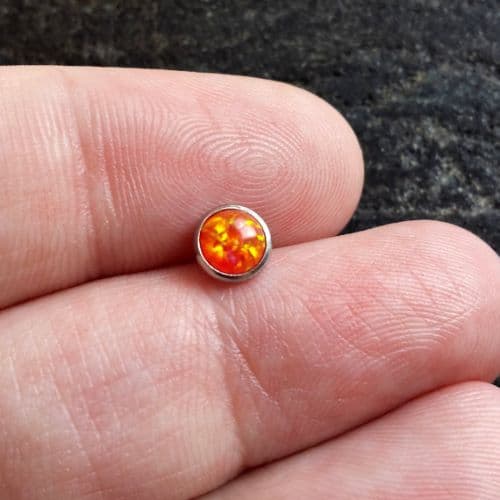
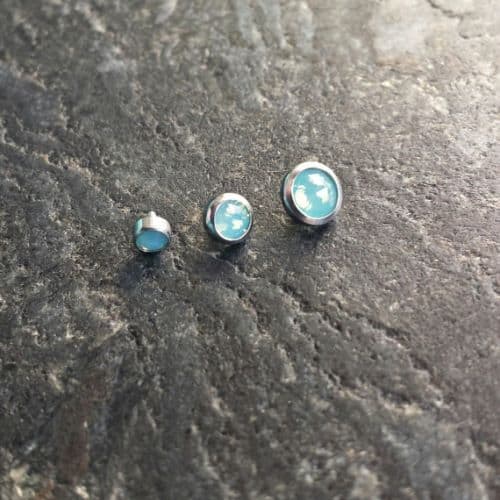
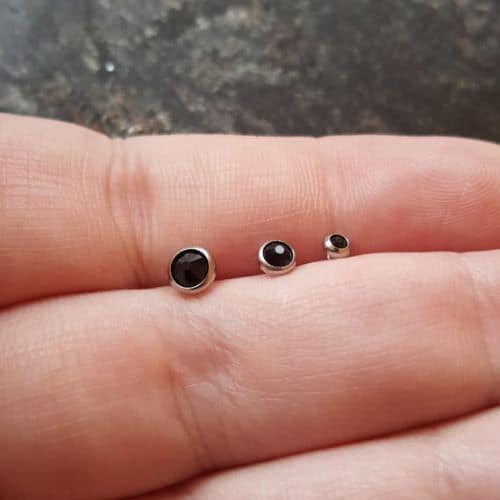
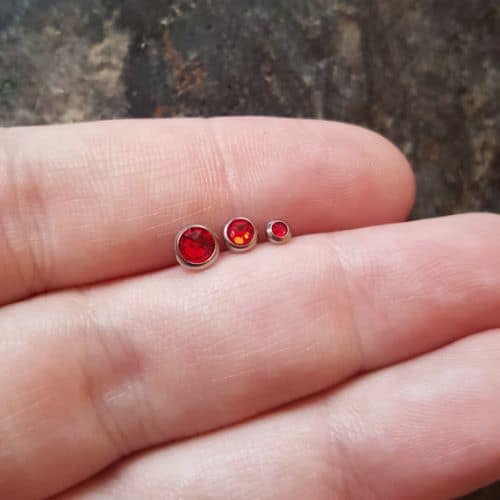
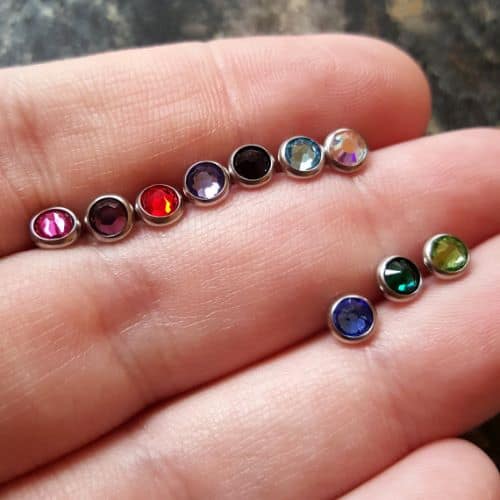
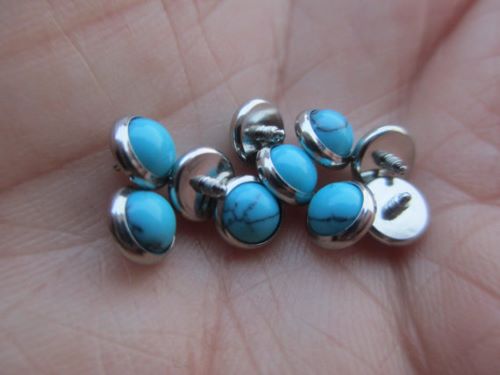
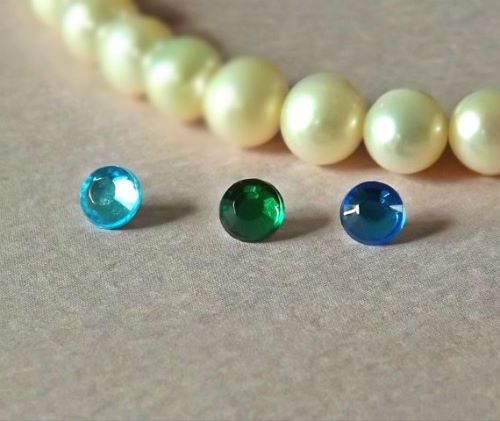
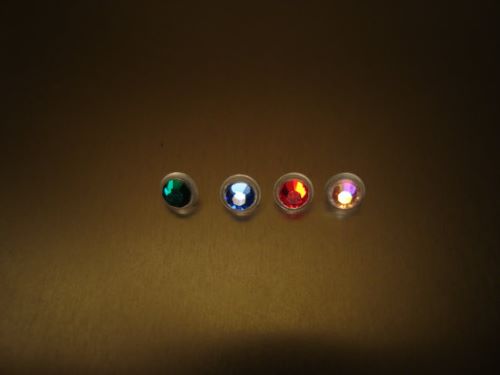
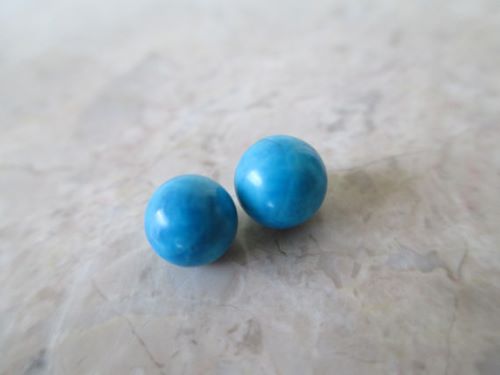
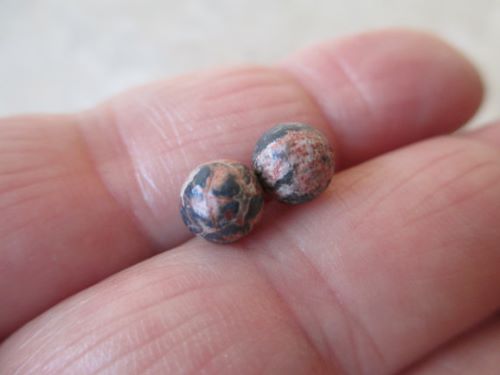
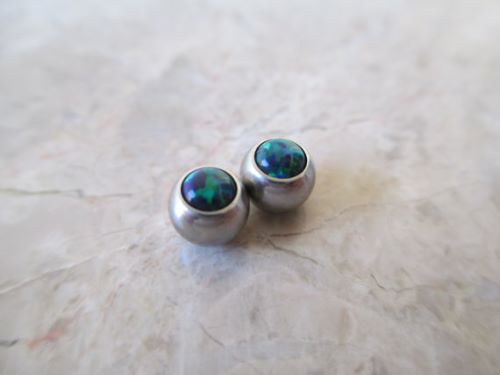
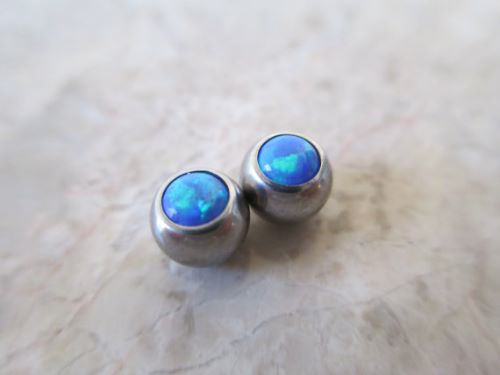
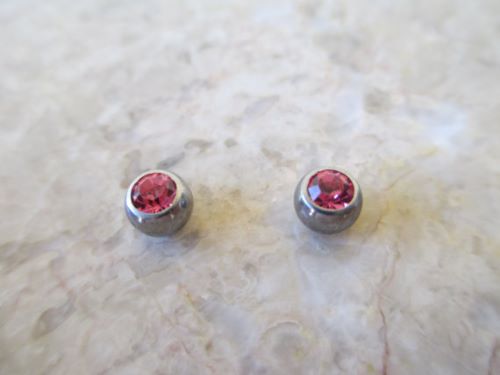
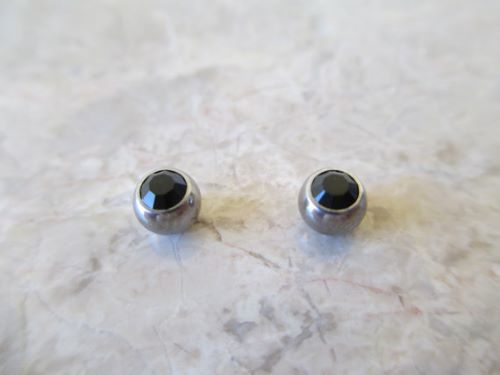
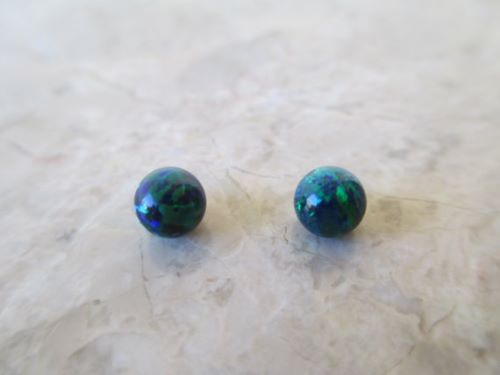
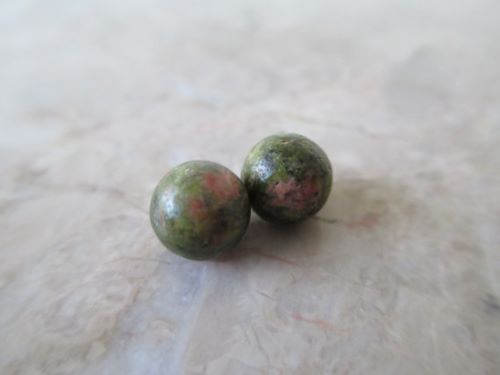
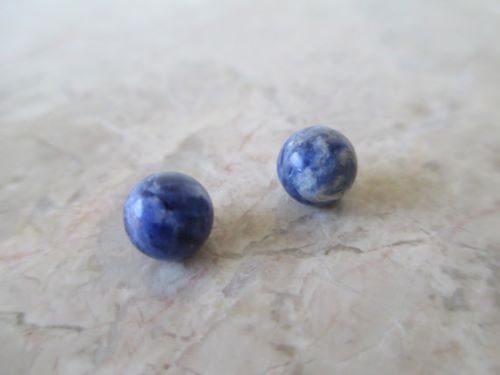
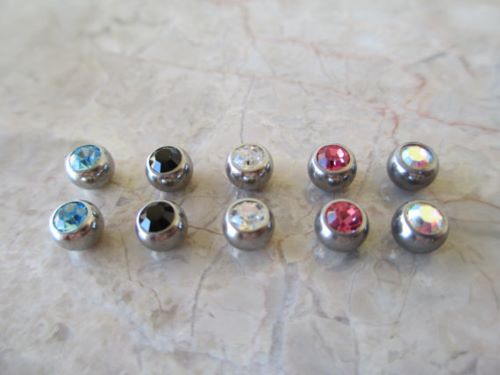
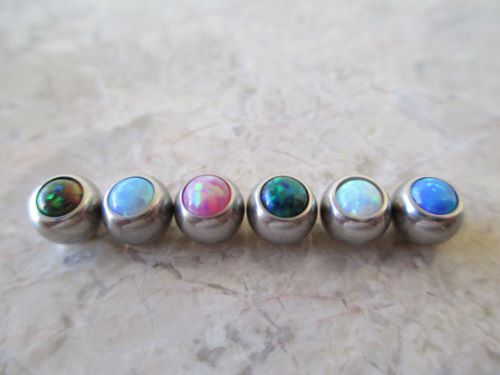
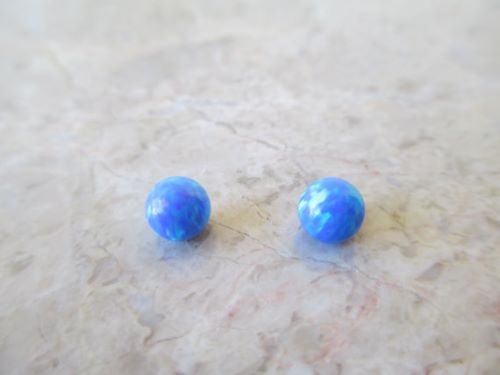
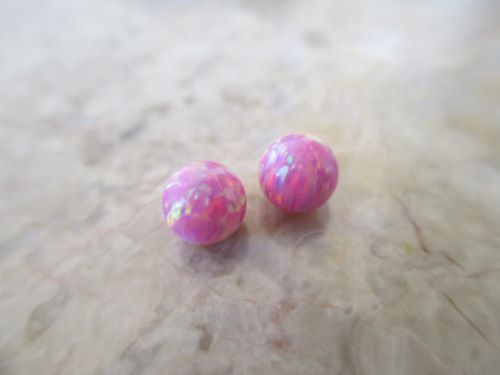
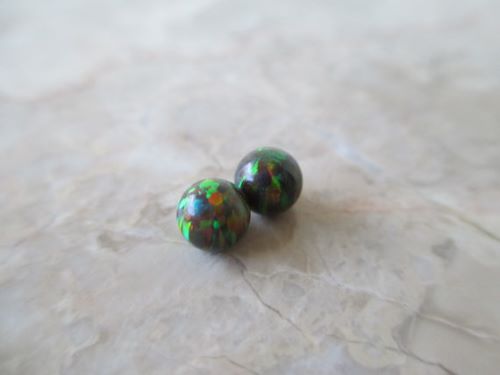
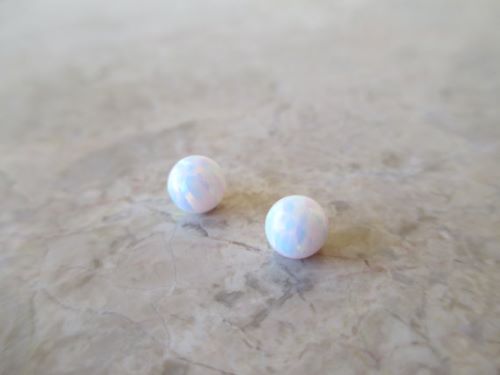
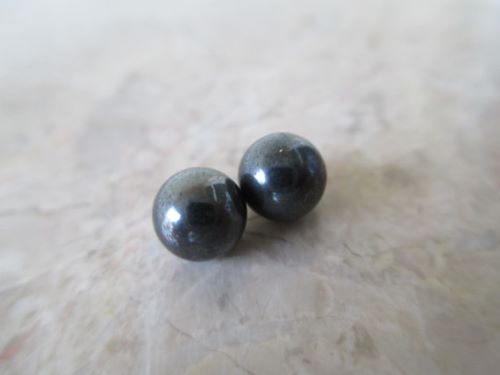
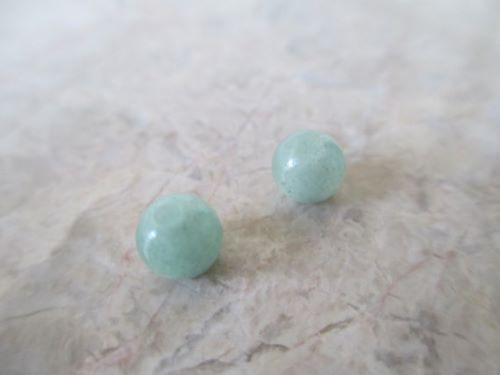
There are thousands of options for these, from solid metal balls or spikes to gems and marbles. Different shapes are also available, such as stars or crosses.
Microdermal hip piercing jewelry
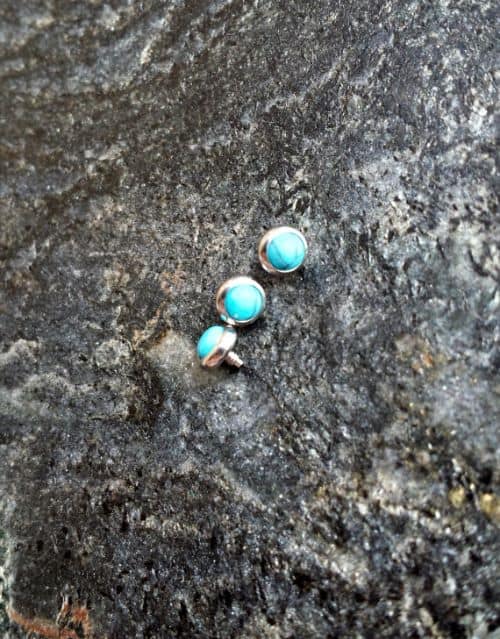
As we’ve already seen, jewelry for a microdermal piercing includes an anchor (embedded in the skin) and a bead.
The anchor must be left in place – skin and tissue essentially grow around it during the healing phase. The bead, visible above the surface of the skin, is the only visible part.
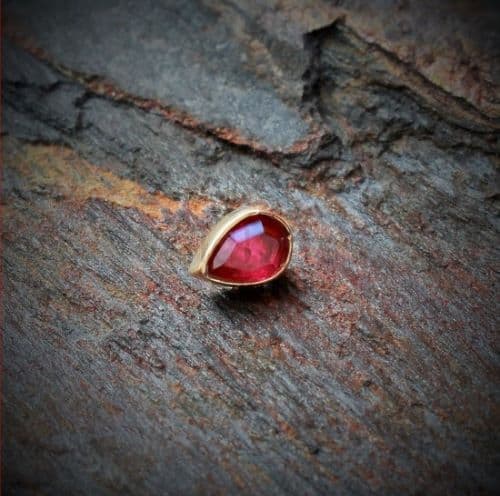
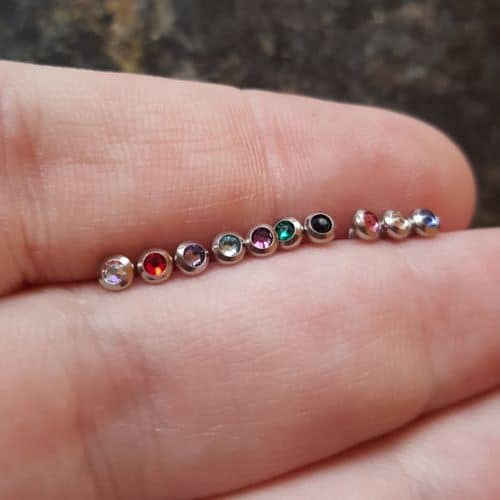
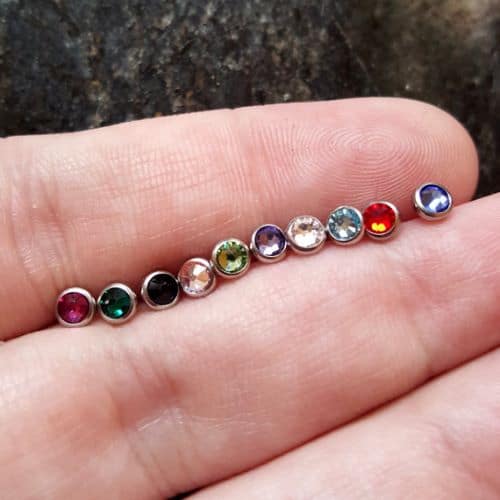
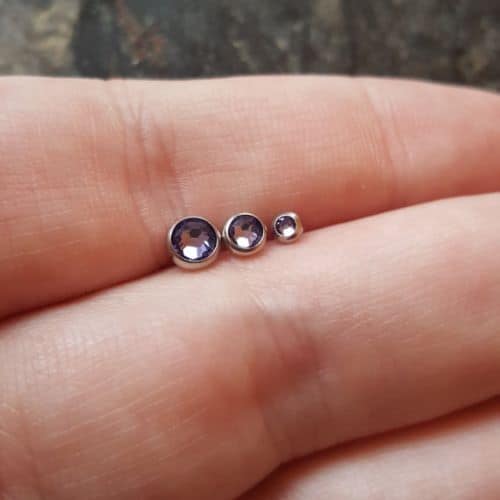
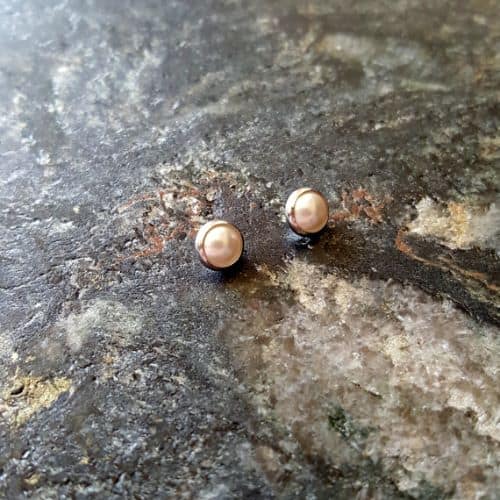
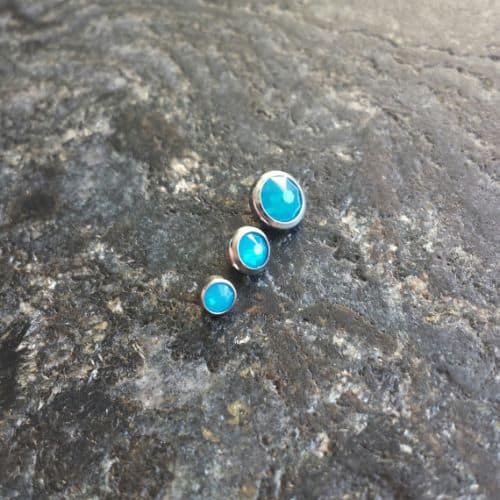
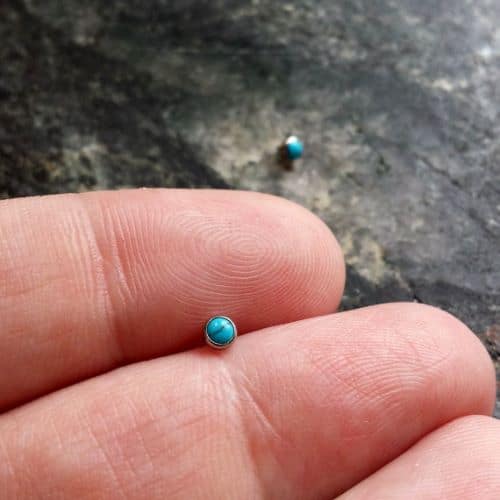
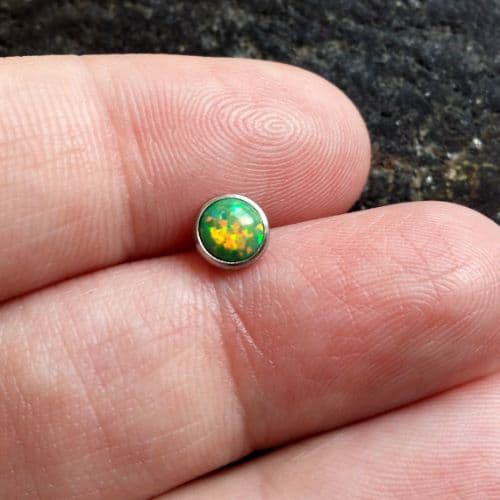
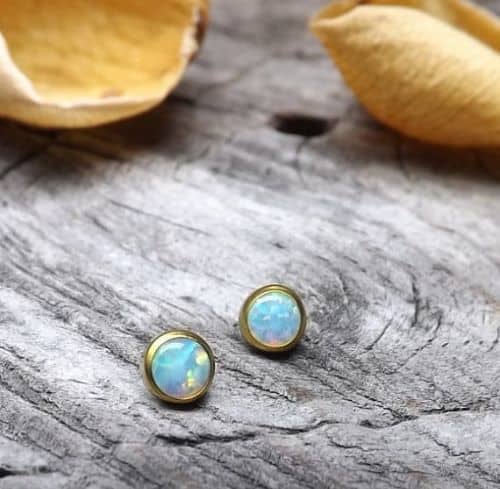
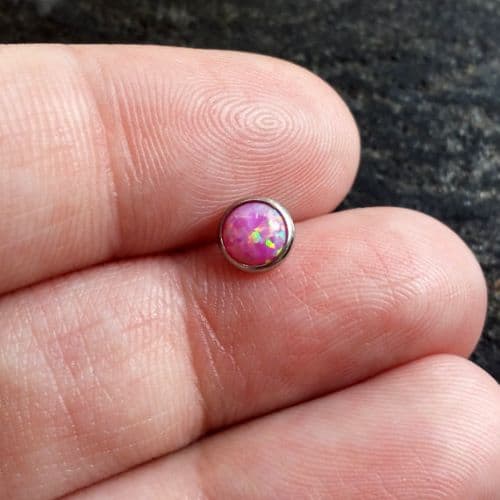
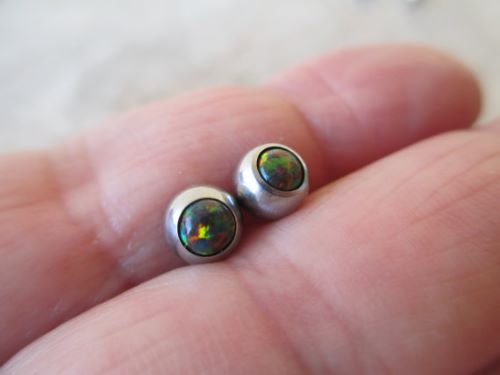
Like with surface bars, there are tons of options for microdermal hip piercing jewelry, in the form of singular, interchangeable beads.



Hip bone piercings
